Dynamite Tool Tutorial
Last updated on: 14 August, 2018
This post is a follow-up to: Dynamite Tool for Houdini.
Preparations
After installing Dynamite tool and starting up Houdini, we can add a new shelf called Dynamite which contains a shelf tool which spawns Dynamite Control object node in the currently active object network path. We can have as many control nodes (and by extension: bake networks) as we like, as long as we put controllers in separate paths.
We need to make sure to name the sub-network before creating the Dynamite Control node because if we were to rename it later, the script could break. It is a known bug and I plan to fix it, though it is not of high priority.
Input Geometry Requirements
Dynamite accepts two input models: low-poly retopo geometry and high-poly reference mesh (which is usually our sculpture). Both models must have corresponding primitive groups and if their names do not match, the script will notify us about it during geometry import process, and we will have to correct the mismatch.
For example, if our retopo model has head and body primitive groups, while our sculpture consists of head, hair, jacket, hands, trousers and shoes, we will have to combine reference primitive groups in such way that they match those from retopo. In this case we could use Group Combine SOP to merge head with hair into head group and remaining groups into body. Then we could remove obsolete groups with * ^head ^body selection passed to Group Delete SOP. This way in both input models we will have the same groups: head and body. I usually do it in a separate SOP network which I then reference with op in Dynamite Control node.
Importing Geometry
Dynamite Control node has its parameters divided into three tabs (actually four, but the last tab called “data” is hidden and used internally by the script).
The first category called “Import” contains all necessary import settings, including:

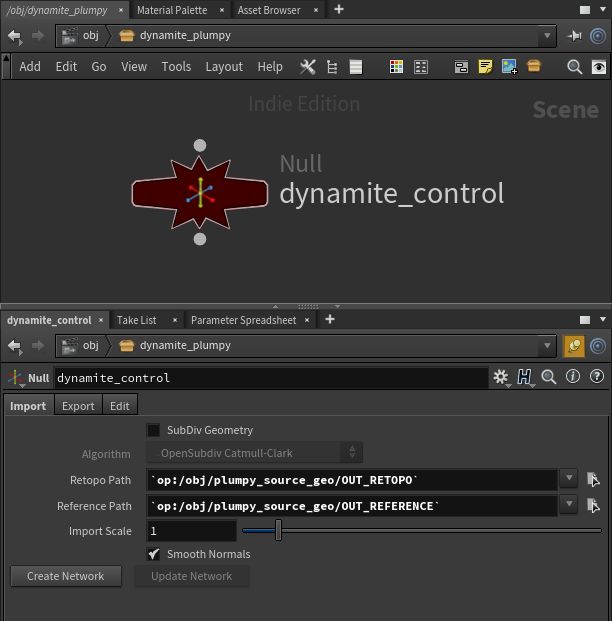
Dynamite control node.
- Path — these are paths to retopo and reference geometry which can point to a file or a SOP node in the network. For the latter use
openclosed in back ticks, for example:`op:/obj/path/to/MY_SOP`. Dynamite officially supports.obj,.fbx,.geo/.bgeofile formats, although it might work with others as long as they support primitive groups. - Subdiv Geometry — a toggle and a droplist for selecting subdivision algorithm. Useful only for offline assets that are supposed to be subdivided before rendering, or subdivided at render-time.
- Import Scale — tweaks scale of both input models. We should use it if size of our geometry is too small or too large to work with in Houdini.
- Smooth Normals — toggles on/off vertex normal smoothing on reference geometry. We should use it only if for some reason we used split vertex normals on our sculpture.
In order to start working on our cages we need to type in paths of our input geometry, choose options that suit our workflow best and then press Create Network button. If everything goes fine, we will notice multiple groups of three linked SOP networks per primitive group (object), and a bunch of other, differently shaped networks.
Understanding Dynamite Network
Dynamite network of nodes can be divided into three logical groups. The first and usually the most numerous, is a group containing bake triplets, which are retopo, reference and cage SOP networks of each primitive group (or object, if we imported an FBX file), parented together to share the same transformations.
The second group, unofficially called the Source Group, contains networks of input retopo and reference geometry. This is where input scale, averaging of reference mesh normals, separation of FBX objects into primitive groups, and other input operations take place.
The last group, the Output Group forms an output which contains SOP networks that handle geometry export.

An example of dynamite network.
Color coding of every node from those logical groups is important. We shouldn’t modify networks colored in dark gray, unless we have a very good reason to do so and we know what we’re doing. On the other hand, networks or nodes colored light gray contain either predefined user area, where we can drop some nodes, or can be modified to some extend (more on this later).
In general, we don’t need to worry too much about those nodes as it is Dynamite Control’s job to handle them automatically.
Editing Cages
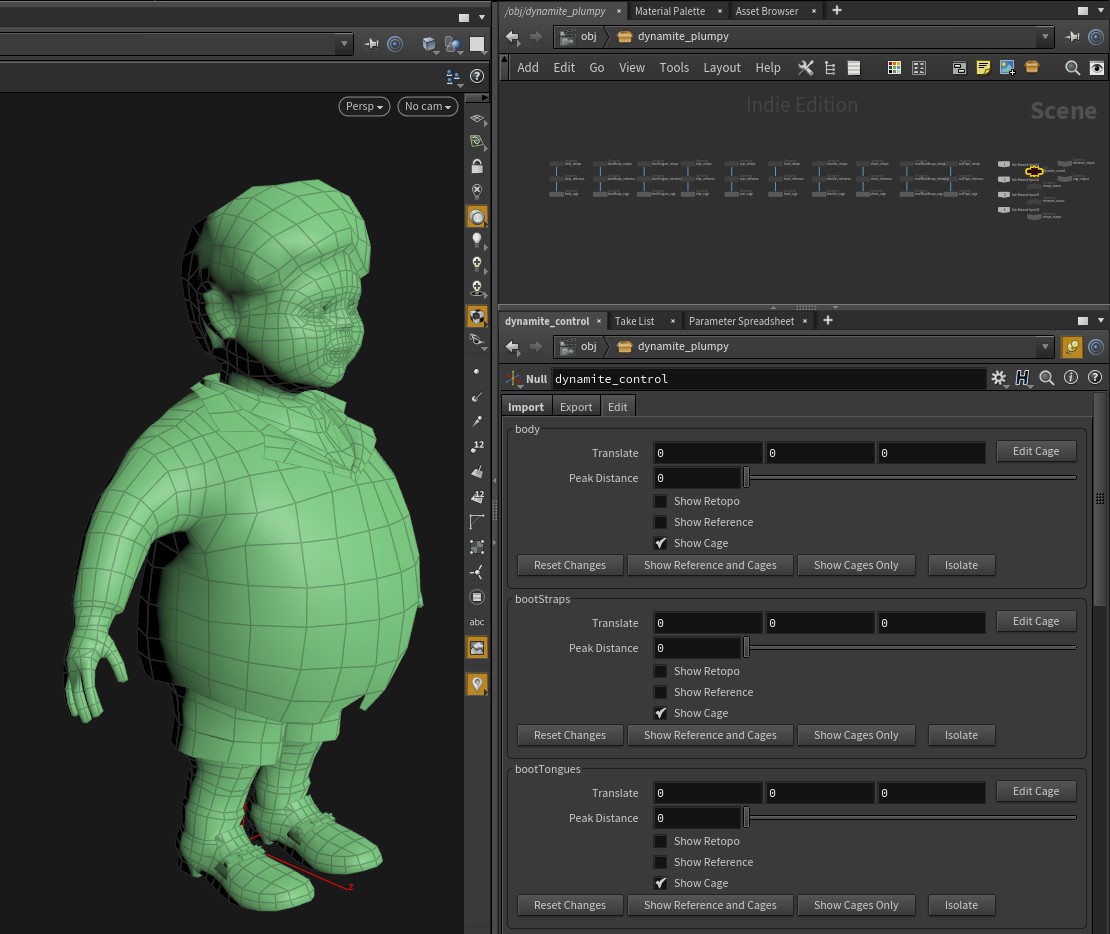
With the network created, we can start editing our bake cages. The script automatically creates them for each object of our model by referencing input retopo primitive groups. By switching to Edit tab of the control node, we can find a list of all objects within our asset. Each object has the same parameters available for tweaking. This includes:

Edit tab of Dynamite control node.
- Translate — translates bake triplet of a given object in world space. We can ignore this parameter if our baker can handle name correspondence baking (a.k.a. baking by object name). If we’re using something like XNormal for baking our textures, we can easily explode our mesh by keying these values.
- Peak Distance — offsets the cage from retopo mesh by inflating it along normal vector of the retopo mesh. It’s the first thing we should tweak and is usually enough for getting a nice bake cage if the topology of our mesh is relatively uniform and does not consist of sharp angles (like it can in case of super low-poly assets made for mobile targets).
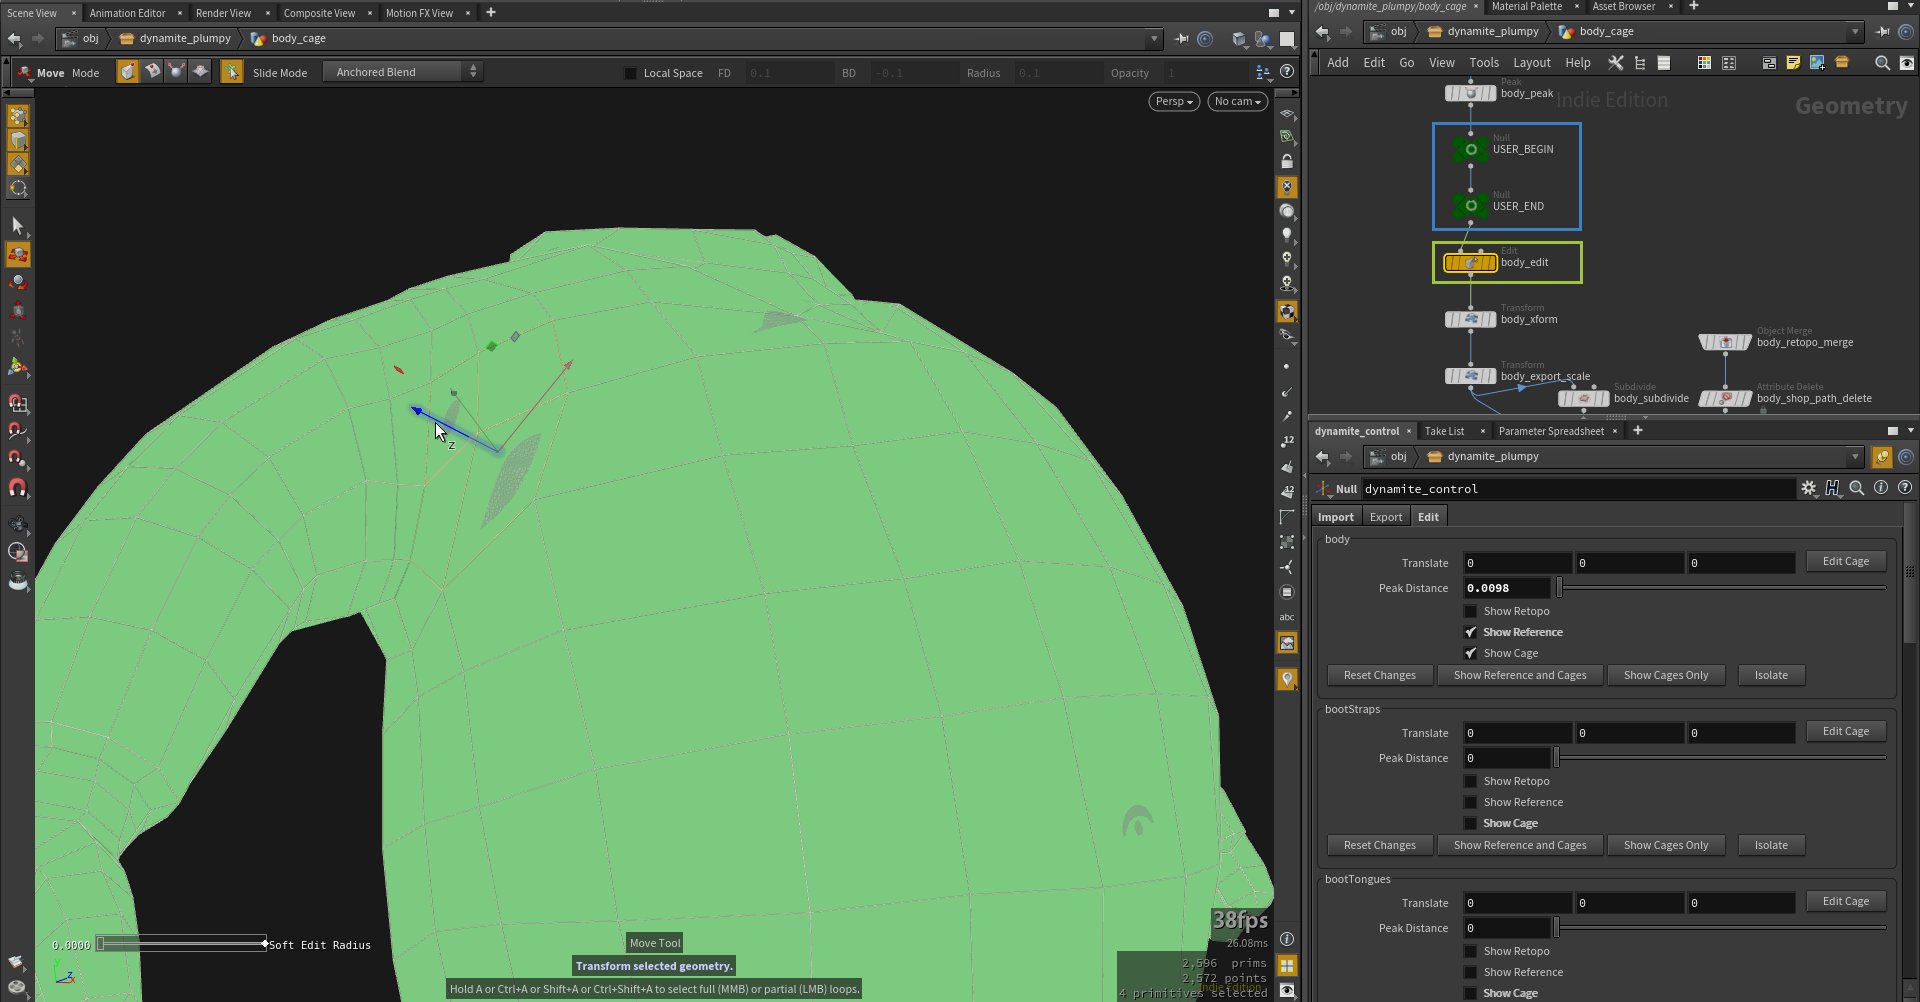
- Edit Cage — when tweaking peak distance is not enough to avoid interpenetration of the cage with the reference mesh, we can press this button and it will take us directly to a predefined Edit SOP inside the cage network of selected object triplet. Using this node we can fine tune position of cage mesh geometry components. Z is the axis that we usually want to translate components on. This is handy in case we have to deal with super low-poly meshes and their tight concave areas.
Inside the cage node we will also find an empty area enclosed in two Null SOPs named USER_BEGIN and USER_END. Between them we can insert any node we want. This is a good place to insert muscle deformer SOPs if we want to have local modifications to be independent of point order of current object.

User space inside each cage object is delimited by “USER_BEGIN” and “USER_END” Null SOPs.
- Show Retopo/Reference/Cage — these flags toggle visibility of retopo, reference and cage objects of a given bake triplet.
- Reset Cage — this button will reset all changes that we made to cage network of an object.
- Show Reference And Cage — sets all reference and cage SOP networks display flags to true and hides all retopo networks. Useful for inspecting interpenetration of cage and reference meshes in the asset.
- Show Cages Only — turns visibility off for everything but cage networks.
- Isolate — shows only cage and reference meshes of a given object. Hides networks of all other objects.
In my usual workflow I begin with isolating the first object and home on visible geometry (SPACE H). Then I tweak peak distance until I can see no interpenetration of the cage with the reference mesh. If avoiding them requires the cage mesh to be inflated way too much to my liking, I increase the peak just a tad in order to leave several interpenetrating areas, and then hit the Edit Cage button which takes me to Edit SOP inside the object’s cage network. Here I translate selected components by moving them slightly on their local Z axis. To return to Dynamite Control node, I hit the Jump Back button in Parameters Editor or the Network View. Rinse and repeat for every object in the model.
Setting viewport shading to flat helps a lot in spotting any interpenetration between cage and reference meshes.
Exporting
To export our meshes to external baker we first need to choose output paths and file format of our retopo, reference and cage geometry. With the “triangulate” flag we can choose whether to tessellate our retopo and cage meshes or not. The script uses Divide SOP to deal with tessellation, but it does not expose its settings to the user yet (it uses whatever the defaults of this SOP are). This will change in the future version.
We should leave Use Name Correspondence flag enabled if we intend to bake our asset with object name matching. By default, retopo and reference object name suffixes are configured to work with Substance Painter.
To export the model we need to hit the Export All button. This will export the asset into three separate files containing retopo, reference and cage geometry.
We also have two other export buttons available, namely: Export Retopo And Cage and Export Reference. This may save us some time if we only updated one or the other.
Updating The Network
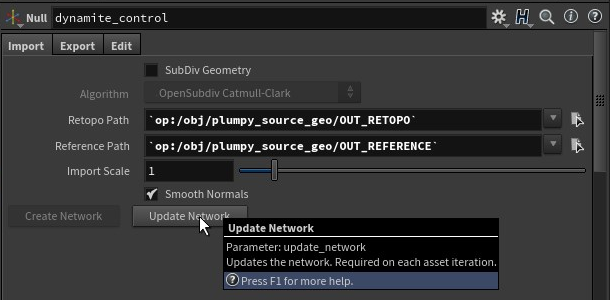
If we have made changes to our retopo or reference models, then updating the Dynamite network to accommodate them is quite simple. We press the “Update Network” button located in the “Import” tab of Dynamite Control node and the network will accommodate to our changes. Here’s what will happen in detail:

“Update Network” button in the import tab of Dynamite control node.
- All bake bundles of non-existing primitive groups (objects) will be removed from Dynamite network.
- Any new primitive groups (objects) will be added to the network as bake triplets. We will need to edit their cages.
- Cages of all primitive groups (objects) in which the point order has changed, and we edited their cages with something more than just using peak, will need to be reset and re-edited. Unless of course we have used muscle deformers, or other point-order agnostic methods of fine tuning our cage.
Known Problems
We should always save the scene before exporting our cage because from time to time Houdini likes to crash on this action. Restarting it and pressing one of the export buttons again saves the output just fine.