Construct a curve from a winding tubular shape
Last updated on: 12 July, 2023
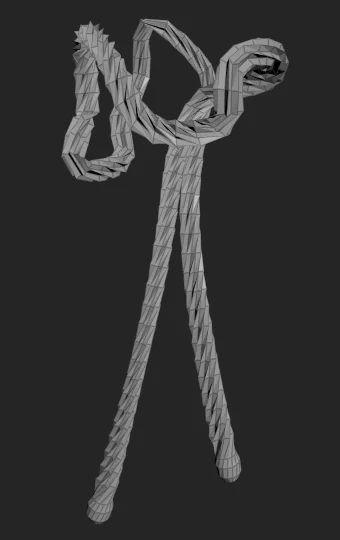
This week I’ve been given a certain subdivision model to fix, optimize, and also prepare a proxy for simulation. One of the model’s part was a tied lace hanging loosely from ringed holes, similar to what you have in shoes, just upside down. From the very first glance I realized that this guy will need more love that the other areas of the model.

The larch… Oh, sorry. The lace.
To create a simulation proxy I needed a curve, which I could later pass to Vellum. The curve could also be used to reconstruct the geometry from scratch, because firstly, I didn’t like the “twisted” nature of the topology, and secondly, I found the lace too thick. Unfortunately the model didn’t come with any geometry that was used to create it, so I had to find a way of reconstructing the curve, or draw it manually. The latter I immediately rejected. I didn’t want to sit for an hour eyeballing points of a Bézier or NURBS curve. That’s not why I use Houdini. Let the computer do what it was designed for — calculations.
After a short brainstorm with myself, I decided on the following approach:
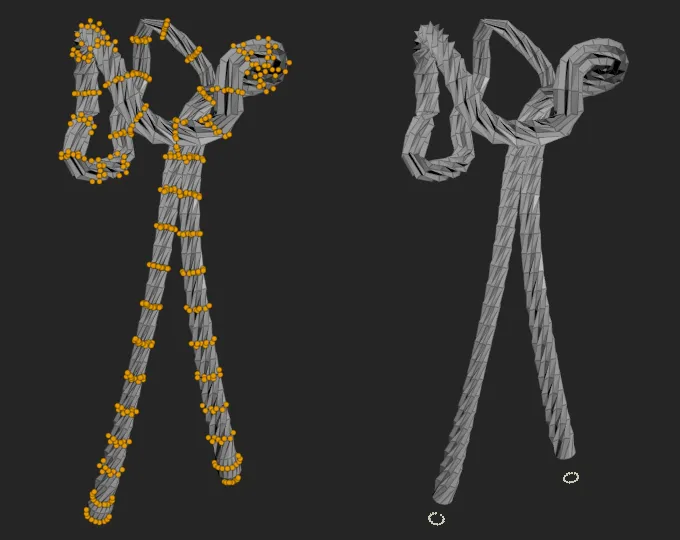
- Group points of edge loops constituting cross-sections. Perhaps take every 2nd loop, as this should be enough, and delete the rest. This step is optional.
- Blast those blob-like lace ends to kingdom come. Those ends would be remade into separate rigid pieces.
- Collapse each loop point group into a single point (their centroid). Fortunately each ring has an identical number of points.
- Create primitives out of the newly created points and join them together into one.
- Clean up whatever there is to clean.
The first two steps are obvious, so I’m not going to explain them. Just to briefly comment on them, for grouping I used group by range and for removal of those bulbous ends, I simply dissolved manually selected points.

Two preliminary steps. Left: grouping of every 2nd point loop. Right: lace ends blasted into oblivion.
I think the interesting part worth further explanation begins in the third step.
I began with a detail wrangle, where I created class point attribute for each edge ring of 16 points, which is the number of points in lace’s cross-section.
Here’s a VEX code of this wrangle:
int points[];
int class_number = 1;
for(int i=0; i<npoints(0); i++)
    push(points, i);
for(int i=0; i<len(points)+16; i+=16){
    for(int j=0; j<16; j++){
        if(j+i < npoints(0)){
            string class_name = sprintf("loop%d", class_number);
            setpointattrib(0, "class", j+i, class_name);
            setpointgroup(0, class_name, j+i, 1);
        }else{
            break;
        }
    }
    class_number++;
}
This sets the class attribute to loop#.
I could of course use any other attribute name, but this looked like the proper name for this use case.
Number of points in edges is hard-coded to 16, but can be easily promoted to parameter with chi("points_in_loop").
With the attribute set for every point loop, I could then easily extract their centroids from within a SOP foreach loop and create primitives from the result using another short detail wrangle:
int points[];
for(int i=0; i<npoints(0); i++){
    push(points, i);
}
foreach(int point; points){
    addprim(0, "poly", point, point-1);
}
Primitives returned by this operation are disjoint, so they need to be joined (with zero tolerance) and then their points have to be fused together.

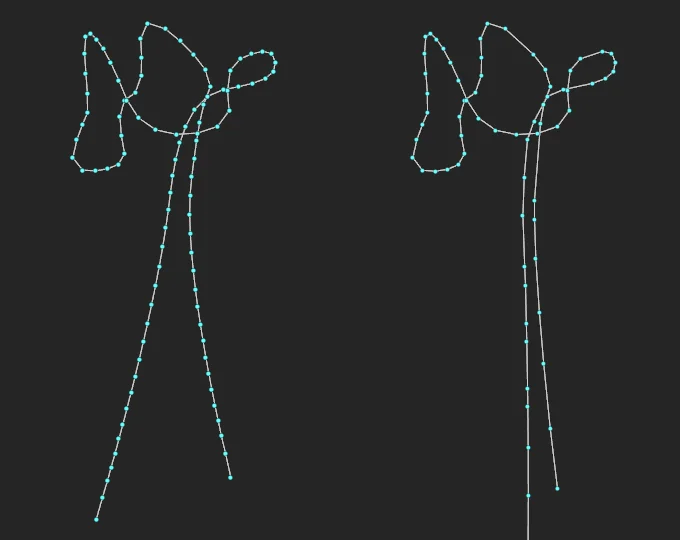
Final result. Left: generated output curve. Right: simulated curve (reduced with RDP algorithm) more-or-less at its rest state.
There we go. This simple algorithm should work on all tubular shapes which have constant point count in their cross-sections. With a couple of alterations it can be packed into an HDA and used again.
(Approximate file size: 97 kB)